Comparison Guide on Seed Germination Methods: Find the Best Way to Start Your Grow
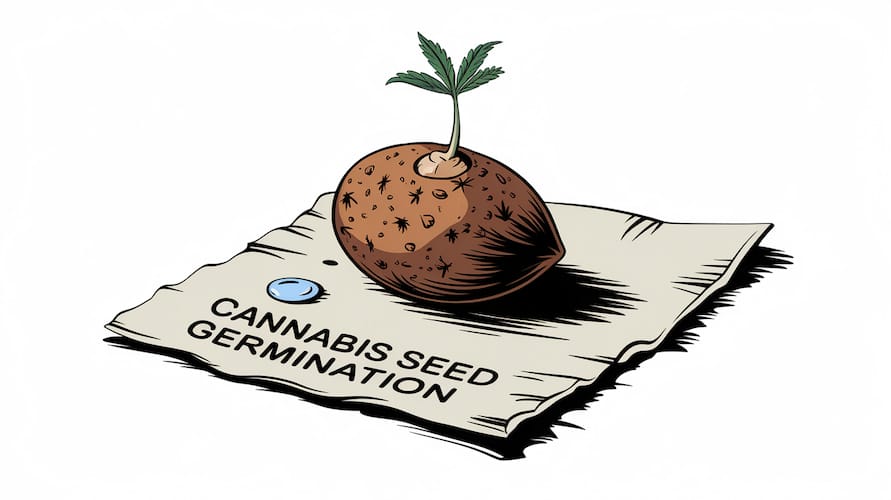
Hey there, I’m James Bean, owner of Seeds Here Now, and today, I’m digging into the nitty-gritty of seed germination. Germinating your cannabis seeds isn’t just a technical step in the process—it’s the foundation for your entire grow. Get this part right, and you’re on track for healthy, strong plants and a great harvest. Mess it up, and, well… you’ll face weak plants or no growth at all.
In this guide, I’ll break down the top seed germination methods, covering the pros, cons, common mistakes to avoid, and which approach works best for different setups. You’ll have all the info you need to get your seeds sprouted and on their way to a successful grow.
Why Seed Germination Matters
Seed germination is like laying down the foundation of a house. It’s where the dormant seed begins its transformation into a living plant, giving you the start you need for a strong grow. This stage determines whether your plants will grow vigorously or struggle to thrive.
To achieve successful seed germination, you need to provide three main things:
- Moisture: Seeds need consistent moisture—not too much or too little. Drench them, and they might drown or rot; dry them out, and they won’t sprout.
- Warmth: Cannabis seeds prefer temperatures between 68–72°F (20–22°C). Too cold, and growth stalls; too hot, and they might overheat.
- Darkness: Seeds naturally sprout underground, where it’s dark. Mimicking this dark environment gives seeds the safety they need to start sprouting.
Master these; you’ll soon see roots breaking through, giving your plants a strong start.
Seed Germination Methods
Different methods work best for different situations. Here are some of the most popular techniques, with pros and cons and advice on which setup works best for each.
1. Paper Towel Method
The paper towel method is a go-to because it’s simple, affordable, and easy to monitor.
- How to Do It: Dampen two paper towels, place seeds between them, and cover the setup with a plate or plastic wrap to trap moisture. Keep the plate in a warm, dark area, and check every 12–24 hours.
- Pros:
- It is easy to monitor the progress
- Inexpensive, with simple household supplies
- Fast results, often within 1–3 days
- Cons:
- Risk of over-watering if the paper towels are too wet
- Delicate handling is required to move sprouted seeds to soil or other growing mediums
- Best For: Beginners and those who want an easy, fast way to get seeds sprouted before moving them into soil or another medium.
2. Direct Soil Seed Germination
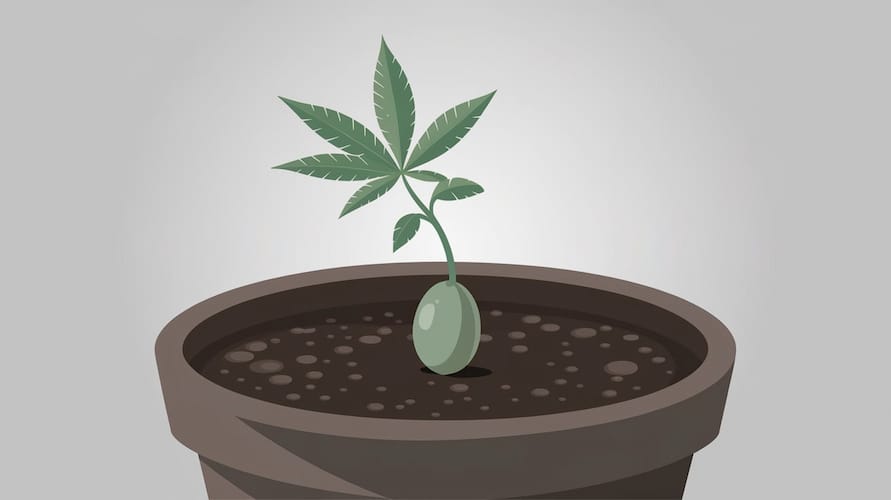
Direct soil seed germination mimics a more natural approach and can reduce the risk of transplant shock.
- How to Do It: Plant seeds about 0.5 inches deep in a pot with well-draining soil. Keep the soil lightly moist and warm.
- Pros:
- Reduces handling stress, as seeds are planted where they’ll grow
- Provides a natural environment for root development
- Simple, low-maintenance setup
- Cons:
- Limited visibility—you won’t see what’s happening underground
- Slower germination compared to controlled environments
- Soil quality matters, so good soil is essential
- Best For: Growers who want a hands-off process and plan to grow directly in soil.
3. Rockwool Cubes
Popular for hydroponics, rockwool cubes hold moisture well and give seeds a stable environment.
- How to Do It: Soak cubes in pH-adjusted water, place seeds about 0.25 inches deep, and keep them in a warm, dark place.
- Pros:
- Holds moisture well for seeds
- Minimal transplant shock, as you can move the whole cube into hydro systems
- Clean and convenient setup
- Cons:
- Needs pH adjustment, as Rockwool naturally has a higher pH
- Not biodegradable, making it less eco-friendly
- Best For: Hydroponic growers and those seeking a low-maintenance, clean germination method.
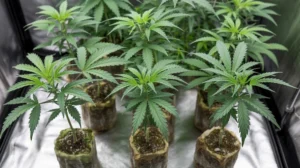
4. Jiffy Pellets
These small, expandable pellets are great for beginners and make for an easy transplant.
- How to Do It: Soak the pellet in warm water to expand it, then plant the seed about 0.25 inches deep.
- Pros:
- Minimal transplant shock—move the whole pellet to your pot or system
- Compact, convenient, and relatively mess-free
- Ideal for small spaces
- Cons:
- Can dry out quickly, so they require frequent checks
- Slightly more expensive than paper towels or soil
- Best For: New growers who want an easy, no-mess method with minimal transplant stress.
Common Germination Mistakes and How To Avoid Them
Avoid these pitfalls to give your seeds the best shot:
- Overwatering: Too much moisture can drown seeds. Aim for damp, not soaking wet.
- Underwatering: Seeds need consistent moisture, especially early on. Don’t let them dry out.
- Inconsistent temperature: Cold delays germination, while too much heat can damage seeds. Maintain a stable 68–72°F (20–22°C).
- Light exposure: Seeds need darkness during germination. Keep them covered and only introduce light once they sprout.
- Using old or poor-quality seeds: Fresh, quality seeds are more likely to sprout. If your seeds are older, germination rates may drop.
Handling Germinated Seeds
Once your seeds have sprouted, it’s time to handle them carefully as you move them into their growing medium. Here’s how:
- Be Gentle: When transferring, handle the sprouted seeds delicately by the seed body, not the root.
- Minimize Root Exposure: Move quickly to avoid drying out the root.
- Plant Immediately: Place the seed about 0.5 inches deep into the soil, rockwool, or final medium.
Seedling Care After Germination
Once your seeds are in their new home, give them the right care to thrive:
- Introduce Light Gently: Place seedlings under gentle, full-spectrum light after sprouting.
- Water Sparingly: Keep the soil or medium damp, not soaked. Overwatering at this stage can lead to “damping off.”
- Light Nutrients: Introducing a very diluted nutrient mix once true leaves develop. Seedlings are delicate, so avoid full-strength nutrients right away.
Additional Seed Germination Techniques
If you want to try alternative methods, here are a few more options:
- Water Glass Method: Soak seeds in water for 12–24 hours to “wake them up” before transferring them to soil or paper towels.
- Humidity Domes: Great for moisture control, humidity domes help retain heat and moisture, especially in cooler climates.
- Scarification: For more challenging seeds, lightly scratching the surface with sandpaper can help water penetrate the seed coat for better germination rates.
Tips for Storing Seeds Before Germination
Proper storage keeps seeds viable for longer periods:
- Cool, Dark, and Dry: Store seeds in a cool, dry, and dark place. Temperature fluctuations and humidity can reduce viability.
- Shelf Life: High-quality cannabis seeds can remain viable for up to 5 years if stored properly.
- Containers: Use airtight containers to keep moisture out. Silica gel packets can also help absorb excess humidity.
Choosing Seeds Based on Strain and Purpose
For growers looking to tailor their grow, here are some key considerations:
- Indica vs. Sativa: Indicas generally grow shorter and are often better for indoor setups, while Sativas tend to grow tall and may be better suited to outdoor grows.
- Auto-flowering vs. Photoperiod: Auto-flowering seeds are easier for beginners since they don’t require a strict light schedule. Photoperiod strains require light management but often produce higher yields.
- CBD and THC Levels: If you’re growing for medical use, consider high-CBD strains, while recreational users may prioritize high-THC strains.
Frequently Asked Questions (FAQs)
Why aren’t my seeds germinating?
- Check moisture, temperature, and seed quality. Old seeds or inconsistent temperatures can be major factors.
What temperature should I keep my seeds at?
- Aim for the best results at 68–72°F (20–22°C).
Can I germinate seeds in sunlight?
- No, seeds should germinate in darkness and only need light once they sprout.
How long does germination usually take?
- Most cannabis seeds sprout in 1–7 days, depending on the method and conditions.
Conclusion
When it comes to germinating cannabis seeds, the method you choose depends on your grow setup, experience, and preferences. Each method offers unique benefits and fits different grow styles. I tend to lean toward the paper towel method—it’s quick, easy, and gives me visibility over the process. But if you’re going for something more natural, direct soil germination may be perfect.
Get your seeds off to the right start, keep them in ideal conditions, and set yourself up for a healthy harvest.
Thank you for reading! If you’re looking for high-quality cannabis clones, be sure to check out our sister site at IWantClones.com. For more information on this and other related topics, don’t miss my Ultimate Guide to Cannabis Germination.
Happy growing!
James Bean
Suggested Articles
;)
;)
;)


 13 Feb 2026
  7 min read
 November 14, 2024


RESPONSES (0)
No responses yet. Be the first to respond!