Community Spotlight: Interviews With Growers on Germination Methods
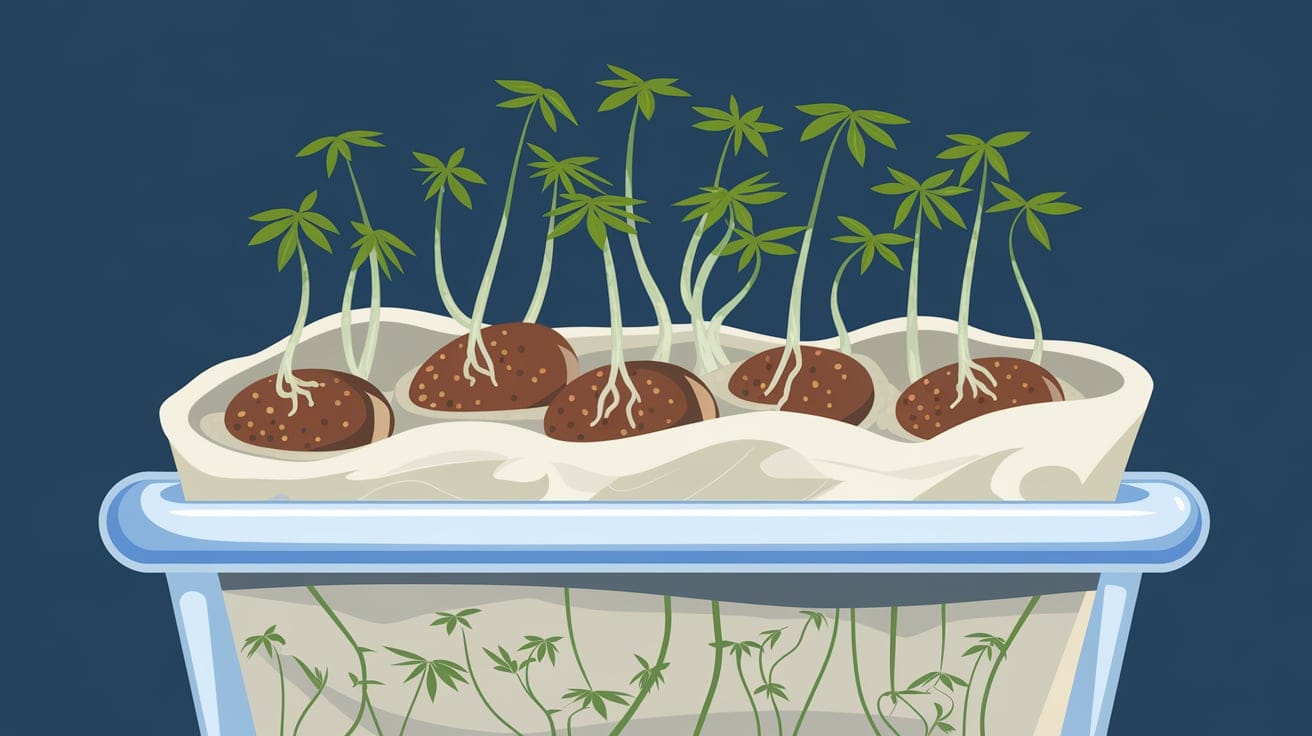
Germination is where the magic starts for every cannabis plant. It turns a tiny seed into a strong, healthy plant. There are many ways to germinate seeds, and every grower has their favorite. Some use the paper towel method, while others soak seeds in water, plant directly in the soil, or use rockwool. To learn more, I talked to a few experienced growers, each with their own stories, techniques, and favorite ways to germinate seeds.
This article highlights what I learned from those interviews. We’ll explore each method’s pros and cons and help you decide which one might work best for your grow.
The Paper Towel Method: Tried and True
The paper towel method is a favorite for many cannabis growers. It’s easy, doesn’t need a lot of supplies, and lets you keep an eye on the seed’s progress. I talked to Jessica, a grower with over 10 years of experience, who loves this method.
Jessica’s Story
“When I first started growing cannabis, I tried different germination methods, but I always came back to the paper towel technique. It’s so satisfying to see the seed sprout—you know, watching that little taproot come out. It gives me more control. Plus, it’s so simple! All I need is a paper towel, water, and a Ziploc bag.”
Jessica explained her process: she wets a paper towel with distilled water, making sure it’s moist but not overly saturated. Distilled water is preferred because it doesn’t have impurities that could harm the seed. She then folds the seeds inside, puts the towel in a Ziploc bag, and stores it somewhere warm and dark, like a cupboard or a drawer. Usually, within 24 to 48 hours, the seeds crack open and start to sprout.
Pros and Cons of the Paper Towel Method
One big benefit of the paper towel method is that you can easily see the seeds. You can check if they’re good, and the germination rate is usually high if you keep conditions stable. However, there’s a downside—moving the delicate taproot can be tricky, and damage at this stage could mean the plant doesn’t make it.
Growers like Jessica have learned how to reduce risks by being gentle. “Tweezers and a steady hand are key,” she said, laughing. “And don’t ever touch that taproot with your fingers!”
The Soak Method: Letting Nature Do Its Thing
Next up is the “soak” method—putting seeds in a cup of water to start the germination process. It’s popular with some growers who feel it mimics how seeds sprout in nature.
I talked to Matt, a commercial grower from Oregon. Matt likes soaking because it’s easy and reliable.
Matt’s Experience
“I’ve always thought, why make it harder? I just toss the seeds into a glass of room-temperature water and let them soak. The water softens the seed coat, and in 12 to 24 hours, most of the seeds crack and show a taproot.”
For Matt, the key is to not let the seeds soak for more than 24 hours. If they stay in the water too long, they can drown. Once they crack, he moves them to soil or a moist paper towel to finish germinating.
Benefits and Risks
The soak method is simple—it hydrates the seed right away, softening the seed coat and allowing the taproot to emerge, signaling it to start growing. One risk, though, is leaving the seeds in water too long. Matt said, “It’s all about timing—too long in the water and you’re in trouble. You want to see that taproot just peeking out, then get it out of there.”
Germinating Directly in Soil: Mother Nature’s Way
For many growers, planting seeds directly in the soil is the most natural and least disruptive method. This way, you don’t need to move the seed after it sprouts, which avoids damage to the fragile taproot.
I spoke to Maria, a grower in Northern California, who’s been growing cannabis for almost 20 years. Maria loves soil germination.
Maria’s Approach
“Look, cannabis is a weed. It’s meant to grow in soil, right? I’ve always just put my seeds straight into the soil I plan to grow them in. I make a small hole, drop the seed in about half an inch deep, and keep it lightly watered. The soil stays warm and dark—perfect for germination.”
Maria emphasized the importance of keeping the soil at the right moisture level. “The soil should be damp, not soaked,” she said. To check, Maria suggests using your fingertip—if the top inch of soil feels damp but not waterlogged, it’s just right. “Too much water and you risk mold or rot; too little and the seed dries out. It’s a balance, but once you get it, it’s so rewarding.”
The Good and the Bad
The biggest advantage of soil germination is avoiding transplant shock—the seedling is already where it needs to be. However, the downside is that you can’t see what’s happening underground. Maria laughed when she admitted, “It’s a little nerve-wracking sometimes, waiting and hoping something’s happening down there. But patience is key.”
Rockwool: The Hydroponic Champion
Rockwool is popular among hydroponic growers. It’s made from melted rock formed into fibers, which makes a light and airy material that holds moisture well. For growers like Andre, who uses a hydroponic system, rockwool is the go-to for germinating seeds.
Andre’s Setup
“I like using rockwool because it’s sterile and holds moisture really well. It’s perfect for hydroponics since I can easily move the sprouted seedling into my main setup without disturbing the roots too much.”
Andre shared his method: He starts by soaking the rockwool cube in pH-balanced water (around 5.5 to 6.0) to prepare it. Once it’s ready, he puts the seed about a quarter-inch deep into the rockwool and keeps it in a warm, humid spot—often under a humidity dome.
Rockwool Pros and Cons
The best part of rockwool is that it’s great for hydro growers. It holds moisture well, gives good airflow, and makes transplanting easy. However, rockwool has its downsides. It’s not the best for the environment, and handling it can be irritating because of the fibers. “Always wear gloves,” Andre warned. “The fibers can really irritate your skin.”
Germination Tips and Tricks From the Pros
After hearing these growers talk about their favorite methods, it’s clear there’s no one “right” way to germinate cannabis seeds—it’s all about what works best for you. Here are some tips from these experienced growers:
- Temperature Is Key: All the growers agreed that temperature is critical. Seeds need warmth to sprout—ideally between 70°F and 85°F. Jessica said she sometimes uses a heating mat to keep her seeds warm, especially when it’s cold.
- Moisture, Not Drowning: One of the biggest mistakes new growers make is overwatering. Seeds need moisture, but too much water cuts off oxygen and causes rot. Maria’s advice was, “If you’re not sure, less is more. You can always add water, but you can’t take it away.”
- Be Gentle: The taproot is very delicate, and any damage can kill a young seedling. Whether you’re moving seeds from a paper towel to soil or rockwool, always be careful. Matt suggested using tweezers and avoiding touching the root.
- Patience Pays Off: Germination takes time, and not every seed will pop overnight. Some may take several days, and that’s okay. “Don’t give up on a seed too soon,” Andre said. “I’ve had seeds that took over a week to crack, and they ended up being some of my best plants.”
Choosing the Right Method for You
With so many germination methods available, how do you choose the right one?
- If You Like To Keep an Eye on Things: The paper towel method is great for those who want to monitor the progress. You can see when the taproot appears and decide when to plant the seedling.
- If You Prefer Simplicity: The soak method is as simple as it gets—just let the seed sit in water. It’s low effort, but you need to watch the timing.
- If You Want a Hands-Off Approach: Germinating directly in the soil is perfect if you want to keep things natural and avoid moving the fragile seedlings. It’s also great for reducing transplant shock.
- If You’re Growing Hydroponically: Rockwool is an excellent option for hydro growers. It gives a consistent environment for germination and makes moving to a hydro setup easy.
Final Thoughts: Experiment To Find Your Best Fit
One of the biggest lessons I learned from talking to these growers is that germination is part science and part art. Every grower has their own techniques that work for them based on their setup, strain choices, and growing conditions. There’s no one-size-fits-all approach, and that’s what makes growing cannabis so interesting.
If you’re new to growing, try out different methods and see which one you like best. Each method has its pros and cons, and a lot depends on how you grow (indoor vs. outdoor, soil vs. hydroponics, etc.). Maybe you’ll love watching the seeds in a paper towel, or maybe you’ll prefer the simplicity of planting straight in the soil.
In the end, germination is just the start of a long, rewarding journey with your plants. It’s an important first step, and taking the time to get it right will help you succeed down the road. As Jessica said, “It all starts with that first root. Get that right, and you’re on your way to a great grow.”
Happy growing, and may your seeds always pop! If you have your own germination stories, tips, or favorite methods, I’d love to hear from you. Share your experiences on social media or join our community forum to connect with fellow growers! Connect with us at Seeds Here Now—we’re always looking to learn from the community.
Suggested Articles
;)
;)
;)



 11 Feb 2026
  10 min read
 November 20, 2024


RESPONSES (0)
No responses yet. Be the first to respond!