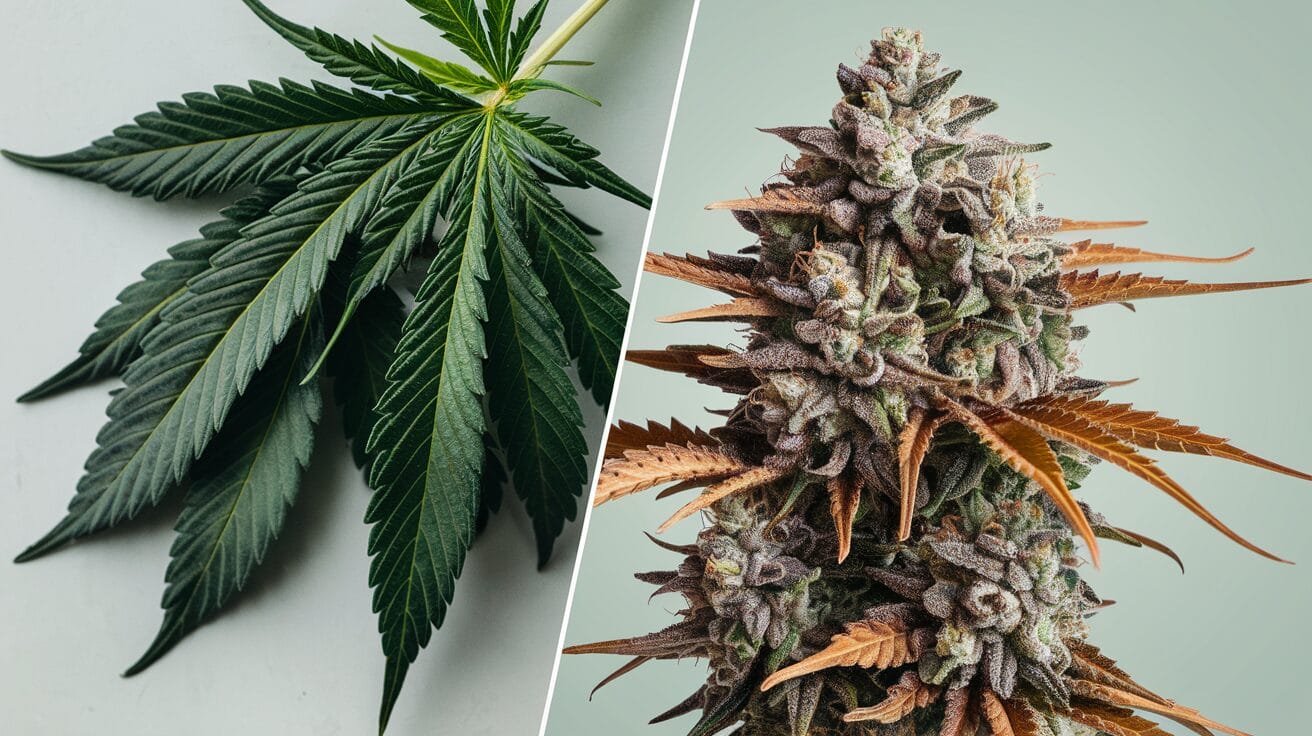
How To Dry Weed: A Step-By-Step Guide for Perfect Results

Hey there, I’m James Bean, owner of SeedsHereNow.com, where we’re all about ensuring you have the best cannabis cultivation journey. One of the most crucial aspects of growing is drying your weed the right way. Get it right, and you’ll enjoy potent, flavorful buds. Get it wrong, and you could ruin months of hard work.
Why Properly Drying Weed is So Important
Before we dive in, let’s understand why drying is so critical. Drying does more than just remove moisture; it’s essential for preserving the cannabinoids and terpenes that give your cannabis its potency and flavor. Proper drying ensures the chlorophyll breaks down, reducing that harsh, grassy taste and replacing it with smooth, nuanced flavors.
Step 1: Harvest at the Right Time
The first step to drying cannabis successfully is timing your harvest. You want to harvest when the trichomes are milky white with some turning amber. This stage means THC levels are at their peak.
How to Check Trichomes:
- Use a jeweler’s loupe or a microscope.
- Look for trichomes that appear like tiny, frosty mushrooms.
- Clear trichomes indicate immature buds, while amber trichomes suggest a more sedative effect due to the THC starting to degrade.
Pro Tip: Harvest your plants in the early morning when they are most hydrated.
Step 2: Trim Your Buds
Now, let’s talk about trimming, which can be done in two ways: wet trimming and dry trimming.
Wet Trimming vs. Dry Trimming:
- Wet Trimming: Trim the leaves right after harvesting. This method speeds up drying and helps reduce the risk of mold. However, the buds will dry quickly, so you must be vigilant about preventing them from overdrying.
- Dry Trimming: Leave the leaves on while the entire plant or large branches hang. This method takes longer, but it can result in more flavorful weed as the leaves protect the buds and slow down drying.
Best For: If your grow room has low humidity (below 45%), consider dry trimming to slow down the drying process.
For more on optimizing your grow room, check out our guide on growing strong cannabis seedlings.
Step 3: Setting Up Your Drying Room
Your drying room setup can make or break your harvest. Here’s how to get it right:
1. Ideal Environment:
- Temperature: Keep it at 60-70°F (15-21°C). Fluctuations can speed up or slow down drying and affect quality.
- Humidity: Maintain a relative humidity (RH) of 45-55%. A hygrometer will help you monitor this. Humidity that’s too high can lead to mold, while too low can dry out your buds too quickly.
2. Lighting:
Keep your drying area dark. Light degrades THC, so it’s essential to protect your buds from any exposure.
3. Air Circulation:
Use fans to promote gentle air movement. This helps prevent mold, but avoid pointing them directly at the buds, as this can cause them to dry unevenly.
Common Mistakes to Avoid:
- Overcrowding: Don’t let branches touch each other. Space is crucial to ensure even drying.
- Direct Heat: Never place heaters or lamps in your drying room. They can cause uneven drying and a harsh final product.
Want more about optimizing your cannabis grow for high yields? Visit maximizing yields for indoor cannabis cultivation.
Step 4: Drying Techniques
There are multiple ways to dry your weed, each with its pros and cons:
Hanging Branches:
The most common method involves hanging whole branches or entire plants upside down. This technique allows for even airflow around the buds and slows the drying process.
- Best For: Home growers with space to spare.
- Timeframe: Usually 7-14 days.
Drying Racks:
For those with limited space, drying racks are a great option. Just make sure to flip the buds every few days to prevent flat spots.
- Best For: Small grows or when space is tight.
- Tip: Ensure buds don’t touch each other, which can create moist spots leading to mold.
Box Drying:
If space is a big concern, you can dry smaller quantities in a cardboard box with holes punched for airflow.
- Warning: Be cautious of over-drying with this method, as boxes can pull moisture out quickly.
Step 5: Monitor Your Buds
Keeping an eye on your drying buds is essential. Check daily to ensure everything is progressing smoothly.
How To Know When Your Weed is Ready:
- Snap Test: Take a smaller stem and bend it. If it snaps cleanly, your buds are dry enough for curing. If it bends, give it more time.
- Texture: The outer surface should be dry to the touch, but the inside should still be slightly spongy.
Red Flags:
- Ammonia Smell: This is a clear indicator of mold. Check your RH and improve airflow immediately.
- Crispy Buds: These can be a sign that your buds dried too fast. You may need to rehydrate them slightly during curing (more on that below).
Step 6: The Next Step – Curing
Drying is only half the battle. Proper curing can make the difference between decent and top-shelf weed.
Curing Process:
- Jar It Up: Place your dried buds into airtight glass jars, filling them about 75% to allow some air circulation.
- Burp the Jars: For the first two weeks, open the jars for 10-15 minutes daily to let out moisture and let in fresh air.
- Monitor: Use a hygrometer to keep an eye on the humidity inside the jars. The ideal range is 55-65%.
How Long to Cure:
A proper cure takes a minimum of 2 weeks, but for the best flavor and potency, go for 4-8 weeks. Patience pays off in better taste and potency.
Advanced Tips for a Perfect Dry and Cure
1. Humidity Packs:
Once your buds are curing, consider adding a humidity control pack to each jar to maintain consistent moisture levels. These packs help you stay within that 55-65% range effortlessly.
2. Temperature Control:
Keep your curing jars in a cool place around 60-70°F. Warm temperatures can degrade THC and terpenes, reducing your weed’s potency and flavor profile.
3. Avoid Plastic Containers:
Always use glass jars. Plastic can affect the taste of your weed and may allow moisture to seep in, increasing the risk of mold.
4. Curing for Terpenes:
If you’re all about flavor, curing for an extended period (up to 6 months) can help preserve and enhance the terpenes that give your weed its distinct aroma and taste.
Troubleshooting Common Drying and Curing Problems
Issue: Buds Too Dry
Solution: Add a small piece of orange peel or a damp paper towel in a sealed bag with the buds for a few hours. Don’t leave it too long, or you risk mold.
Issue: Harsh Smoke
Cause: Likely due to drying too fast or not curing long enough. Solution: Ensure the RH is balanced during the drying phase and extend your curing time.
Issue: Buds Smell Grassy
Cause: Chlorophyll hasn’t broken down. Solution: Extend your curing period. This smell should dissipate after a couple of weeks.
FAQs About Drying and Curing Weed
How Long Should Weed Take to Dry?
Typically, 7-14 days. The exact time depends on factors like humidity, temperature, and the size of your buds.
What’s the Best Way to Rehydrate Over-Dried Weed?
Place a humidity pack in your jar or add a small piece of lettuce or a citrus peel for a few hours. Always monitor to avoid overdoing it.
Can You Speed Up the Drying Process?
Technically, yes, but it’s not recommended. Quick-dried weed often loses its flavor and potency. For optimal results, be patient.
Final Thoughts on Drying Weed
Drying and curing weed is an art form that demands patience and precision. Rushing this process can lead to poor results that waste your time and effort. Follow these steps, keep an eye on your humidity and temperature, and you’ll be on your way to a top-quality harvest.
For more expert growing advice, visit our other resources, like how to grow and maintain healthy cannabis clones or our in-depth strain reviews.
Suggested Articles
;)
;)
;)


 26 Dec 2025
  8 min read


 August 02, 2023


RESPONSES (0)
No responses yet. Be the first to respond!