


Unlocking the Importance of Proper Grow Room Ventilation in a Cannabis

This guide covers proper ventilation in a cannabis grow room step by step, with practical tips from James Bean and the Seeds Here Now team for adult growers 21+.
🌬️ Why Grow Room Ventilation Matters in Cannabis Cultivation
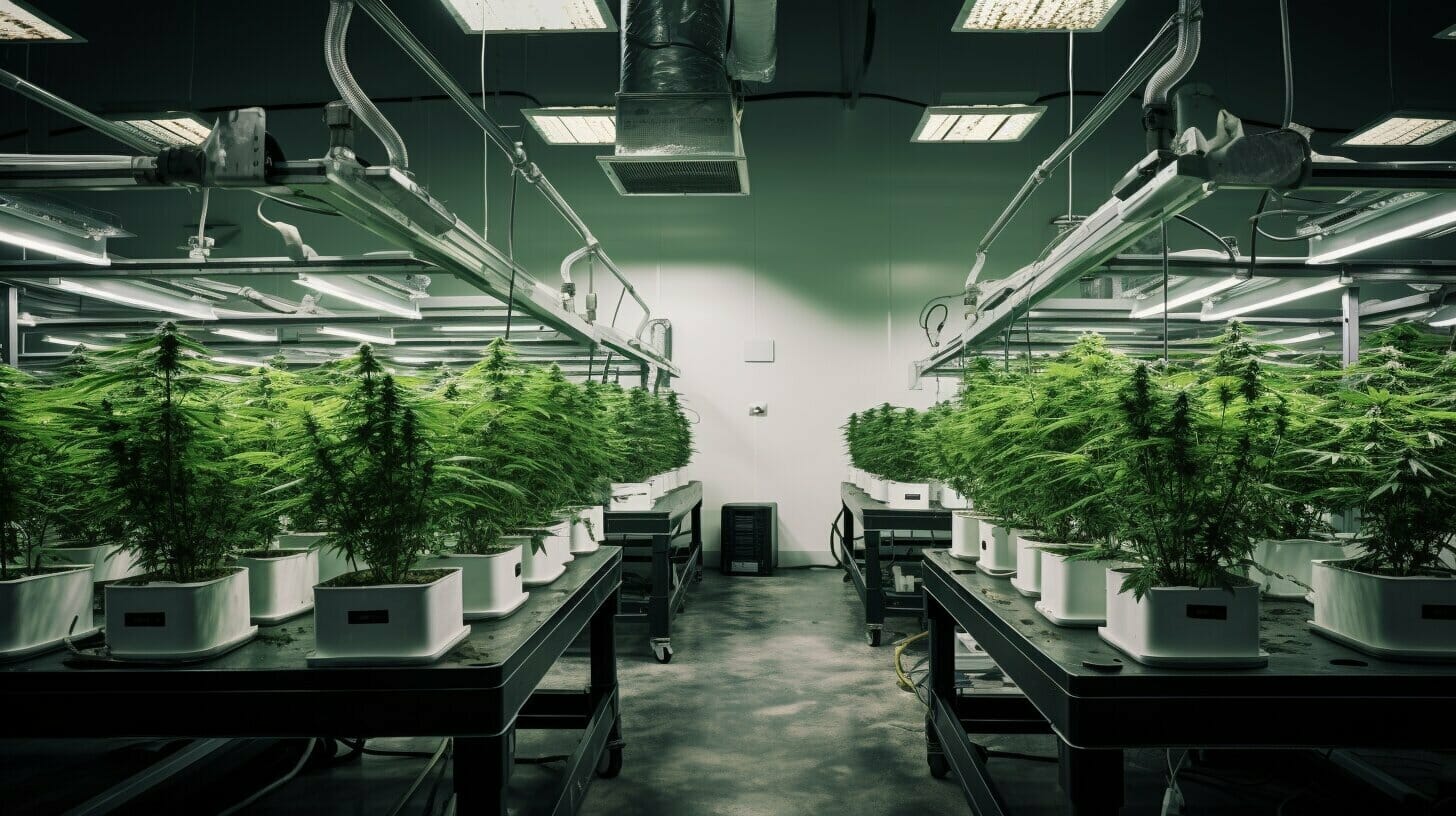
In indoor grow rooms, plants rely entirely on the environment you create. Without adequate grow room ventilation, stagnant air can lead to:
-
Reduced CO₂ levels: Essential for photosynthesis and plant growth.
-
Excess humidity: Encourages mold and mildew development.
-
Heat accumulation: Can stress plants and inhibit growth.
-
Pest infestations: Stagnant conditions attract unwanted insects.
Implementing a well-designed ventilation system mitigates these risks, promoting robust plant health and maximizing yields.

🛠️ Key Components of an Effective Grow Room Ventilation System
-
Exhaust Fans: Remove stale, humid air from the grow room.
-
Intake Fans: Introduce fresh, CO₂-rich air into the space.
-
Oscillating Fans: Ensure even air distribution around plants.
-
Carbon Filters: Eliminate odors and purify incoming air.
-
Ducting: Channels air efficiently between components.
-
Controllers: Automate fan speeds based on temperature and humidity sensors.
Selecting appropriately sized equipment based on your grow room’s dimensions is essential for optimal performance.
📐 Calculating Airflow Requirements for Grow Room Ventilation
To determine the necessary airflow:
-
Calculate Room Volume:
-
Length × Width × Height = Volume (in cubic feet).
-
-
Determine Air Exchange Rate:
-
Aim to replace the air in the room every 1 to 3 minutes.
-
-
Calculate Required CFM (Cubic Feet per Minute):
-
Volume ÷ Desired Exchange Interval = Required CFM.
-
Adjust calculations for duct length, filters, and equipment heat output.
🌡️ Managing Temperature and Humidity
Maintaining optimal environmental conditions is vital:
-
Temperature:
-
Vegetative stage: 70 to 85°F (21 to 29°C).
-
Flowering stage: 65 to 80°F (18 to 27°C).
-
-
Humidity:
-
Seedlings: 65 to 70%.
-
Vegetative stage: 40 to 70%.
-
Flowering stage: 40 to 50%.
-
Use dehumidifiers, air conditioners, or heaters as needed to maintain these ranges.

🌿 Enhancing Plant Health and Yield
Proper ventilation contributes to:
-
Stronger stems: Air movement encourages sturdier growth.
-
Efficient nutrient uptake: Improved transpiration aids in nutrient absorption.
-
Disease prevention: Reduces the likelihood of mold and mildew.
-
Odor control: Carbon filters mitigate vigorous plant smells.
🧰 Tips for Optimal Grow Room Ventilation
-
Regular Maintenance: Clean and inspect fans, filters, and ducts routinely.
-
Monitor Environmental Conditions: Use hygrometers and thermometers to track humidity and temperature.
-
Adjust for Seasonal Changes: Modify ventilation settings to accommodate external temperature fluctuations.
-
Ensure Proper Airflow Direction: Position intake and exhaust fans to promote a consistent air flow through the grow space.
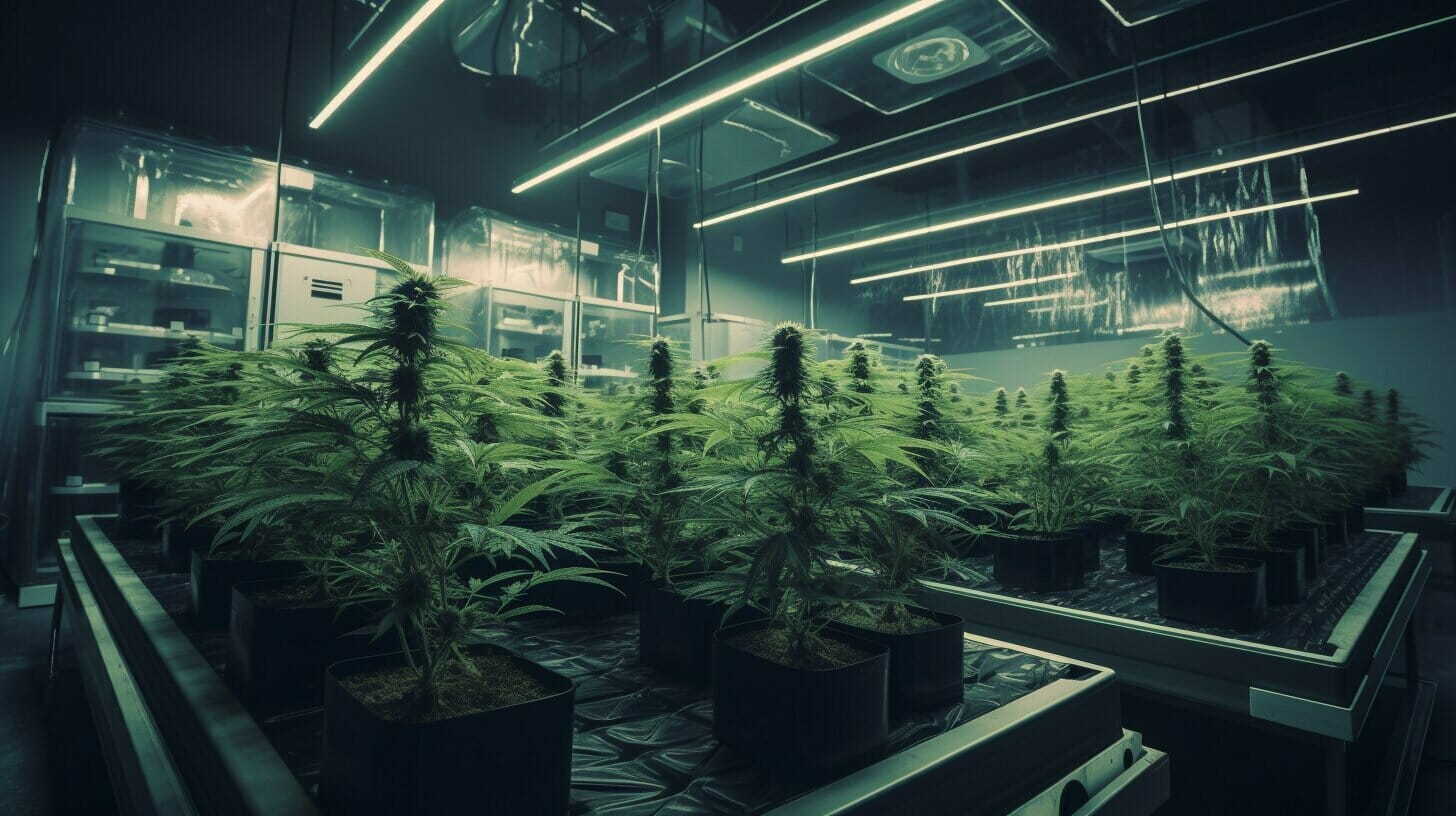
Investing in a robust ventilation system is essential for indoor cannabis cultivation. It safeguards plant health and enhances growth efficiency and yield quality.
Step-by-Step: Sizing a Grow Room Ventilation System
The formula above is a good start. Here is how it works in practice for a common 4 x 4 foot tent that is 7 feet tall.
- Room volume: 4 x 4 x 7 = 112 cubic feet.
- Exchange rate: replacing the air every 1 to 3 minutes means you need roughly 37 to 112 CFM of clean airflow.
- Carbon filter: add about 25% to account for the resistance of the filter.
- Ducting: add roughly 20% for each 90-degree bend and allow extra for long or flexible duct runs.
- Heat load: if your light runs hot or the tent sits in a warm room, add another 10 to 30%.
- Result: a 4 x 4 tent typically ends up needing a fan rated somewhere around 150 to 250 CFM. Buy a slightly larger fan with a speed controller so you can turn it down when it is not needed.
For larger rooms, repeat the same steps and consider using two smaller fans instead of one huge one. Two fans give you redundancy if one fails during a heat wave.
Negative Pressure, Intake and Exhaust Placement
A well-run grow room usually runs at slight negative pressure. The exhaust fan removes a little more air than the intake brings in, so the tent walls pull gently inward. That keeps odor from escaping through zippers and gaps, because all the air leaves through the carbon filter.
- Exhaust high: warm, humid air rises, so mount the exhaust fan and carbon filter near the top of the room.
- Intake low: pull fresh air in near the floor on the opposite side, so it sweeps across the whole room before leaving.
- Passive intake: in small tents, an open intake port works if its total opening is about two to three times the area of the exhaust duct.
- Active intake: in larger rooms, use an intake fan rated at roughly 70 to 80% of the exhaust fan’s CFM so the room stays under negative pressure.
- Filter the intake with a simple screen or pre-filter to keep dust and insects out.
Choosing and Maintaining a Carbon Filter
Match the carbon filter’s rated CFM to your exhaust fan, or choose one slightly larger. A filter that is too small slows airflow and makes the fan work harder. Most filters last around 12 to 18 months of continuous use, less in very humid rooms. When odor starts escaping even though the fan and seals are fine, the carbon is usually exhausted. Keep humidity in check, because a carbon bed soaked by high humidity loses its effectiveness much faster.
Setting Up Oscillating Fans
- Use at least one small oscillating fan above the canopy and one below it to move air through the lower branches.
- Aim for leaves that move gently. If leaves are thrashing or curling into a “claw,” the fan is too strong or too close.
- Do not point fans directly at the same plant all day; let them oscillate or bounce air off a wall.
- Increase airflow inside the canopy during flower, when dense buds trap moisture.
Day and Night: Running Ventilation on a Schedule
Many grow rooms run very differently with the lights on and off. With lights on, heat is usually the problem; with lights off, humidity climbs as the room cools and plants keep transpiring. Practical settings:
- Use a controller that ramps fan speed on both temperature and humidity, not on a fixed timer.
- Keep the exhaust running at least at low speed during lights-off to clear humid air.
- Try to keep the night-time temperature drop to about 5 to 10°F so humidity does not spike.
- In flower, consider a dehumidifier set to switch on above 50% relative humidity.
Using VPD to Fine-Tune Temperature and Humidity
Vapor pressure deficit (VPD) combines temperature and humidity into one number that describes how strongly plants are “pulling” water. Rough indoor targets are 0.4 to 0.8 kPa for seedlings and clones, 0.8 to 1.2 kPa in veg and 1.2 to 1.5 kPa in flower. If VPD is too low, plants transpire slowly and mold risk rises; if it is too high, plants close their stomata and growth slows. A cheap digital hygrometer and a free VPD chart are enough to start adjusting fan speed and humidity.
Ventilation Troubleshooting
- Room too hot: check for kinked or crushed ducts, a clogged filter or a fan running on low. Exhaust lamp heat directly if your light allows it, and pull intake air from the coolest part of the house.
- Humidity too high: increase exhaust speed, add a dehumidifier, and avoid overwatering and standing water in saucers.
- Humidity too low (common in winter): slow the exhaust, use a humidifier in veg, and keep the room slightly warmer.
- Smell escaping: confirm the room is under negative pressure, seal gaps around duct ports and check the carbon filter’s age.
- Too much noise: use insulated ducting, mount fans on soft hangers and run them through a speed controller.
- Uneven canopy (hot spots or wet spots): reposition oscillating fans and make sure fresh air enters on the opposite side from the exhaust.
Seasonal Adjustments and CO₂
In summer, intake air may already be warm, so pull it from the coolest available space or add an air conditioner. In winter, cold intake air can chill plants and spike humidity at night, so slow fans down and pre-warm the intake air if needed. If you add bottled or generated CO₂ to boost growth, the room needs to be sealed and cooled with air conditioning instead of exhausted, otherwise the CO₂ is simply blown away.
Proper ventilation in a cannabis grow room: Further Reading
New to proper ventilation in a cannabis grow room? The sections above work from start to finish, and experienced growers can jump to the parts they need. For more on proper ventilation in a cannabis grow room, these related Seeds Here Now guides go deeper: Blue Dream grow guide, easiest cannabis clones to grow, grow lights for cannabis seeds. For background reading, see Ventilation (Wikipedia).
Ready to put proper ventilation in a cannabis grow room into practice? Browse our feminized cannabis seeds, autoflower seeds, cannabis clones. Every listing names the breeder and lineage so you can match the genetics to your space and your goals.
Suggested Articles

 09 Nov 2026
 7 min read
;)
;)
;)
 September 20, 2023


RESPONSES (0)
No responses yet. Be the first to respond!