Step-By-Step Guide To Soaking Cannabis Seeds for Faster Germination

Soaking cannabis seeds is a simple yet powerful technique for boosting cannabis germination success. By soaking your seeds, you soften their outer shell, allowing water to penetrate faster and kickstart the germination process. This method significantly enhances the speed and consistency of germination, leading to healthier plants and a more productive growth cycle. In this guide, I’ll walk you through each step to get your seeds sprouting and put you on the right path to a successful grow.
Why Am I Soaking Cannabis Seeds?
Soaking cannabis seeds can significantly increase your germination rates and speed. Here’s how it works:
- Softens the Seed Shell: Soaking softens the hard outer shell, making it easier for the taproot to break through.
- Activates Dormant Seeds: Some seeds may stay dormant due to dryness, especially if they’ve been stored for a long time. Soaking wakes them up, ensuring they’re growing.
- Speeds Up Germination: Allowing water to penetrate the seed quickly reduces germination time, which is great for growers eager to start their plants.
Soaking your seeds is a straightforward way for new growers to improve their chances of a successful grow. This process requires minimal effort but delivers significant benefits.
Step 1: Gather Your Supplies
Before you begin, gather these supplies:
- A Glass or Small Bowl: Use a clean, transparent glass or bowl. This allows you to monitor the seeds’ proceeds as they soak quickly.
- Water: Filtered, distilled, or pH-adjusted water is best. For optimal results, aim for a pH between 5.5 and 6.5. Using the right water helps minimize contamination and provides an ideal environment for germination.
- Cannabis Seeds: Choose fresh, dark-colored, and firm seeds. Fresh seeds are crucial for better germination success, while older or pale seeds may have lower success rates.
Step 2: Fill the Glass With Water
Always use room-temperature water (about 68 to 72 degrees Fahrenheit or 20 to 22 degrees Celcius) to avoid shocking the seeds; extreme temperatures can hinder germination. Room temperature provides the ideal environment for seeds to absorb moisture without stress.
Tip: Adjusting the water’s pH to between 5.5 and 6.5 can further boost germination rates, as it mimics the natural soil environment. This small step can make a noticeable difference, especially if you’re aiming for high success rates.

Step 3: Place the Seeds in the Water
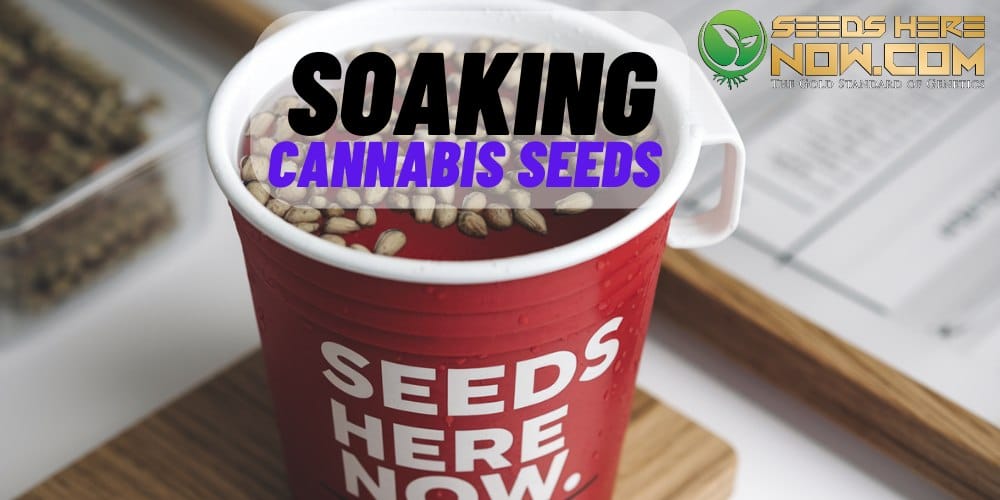
Carefully drop your seeds into the glass of water. It’s common for some seeds to float initially. After a few hours of soaking, most seeds will start to sink as they absorb moisture and become heavier.
Note: Seeds that sink right away are usually fresher, but floating seeds are still viable. Don’t discard seeds just because they’re floating; they may need a bit more time to absorb water.
Step 4: Let the Seeds Soak for 12 to 24 Hours
Let your seeds soak for up to 24 hours—no longer. Here’s what to expect:
- 12-18 Hours: During this time, many seeds will start absorbing water and cracking open, indicating that they’re preparing to sprout.
- 18-24 Hours: Most seeds will continue to crack open, and some may show the beginning of a taproot.
- After 24 Hours: Most seeds should be ready for germination. Do not soak seeds for more than 24 hours, which could cause them to drown and rot. Oversoaking can also lead to mold or bacterial growth, harming your seeds.
If you see seeds cracking open during the soak, that’s a sign that they’re ready to germinate. The small crack or visible taproot means the seed is on its way to becoming a healthy plant.
Step 5: Transfer to a Germination Method
After soaking, move your seeds to your preferred germination setup. Choose a germination method that fits your growing environment and resources, which will help ensure the best results. Here are some popular options:
- Paper Towel Method: Place the seeds between two damp paper towels on a plate. Cover them with another plate to create a warm, dark environment. This method allows easy monitoring and helps keep the moisture level consistent.
- Soil Germination: Plant your seeds directly into soil about 0.5 inches deep and moisten the soil lightly. This method minimizes handling stress, which is beneficial for delicate seeds and reduces the risk of damaging the taproot during transplantation.
- Rockwool Cubes: Place seeds in pre-soaked rockwool cubes for hydroponics. Rock wool retains moisture well, making it an ideal environment for germination. It’s a great choice if you’re going to grow hydroponically.
Each method has advantages, so choose the one that works best for your growing setup and personal preferences.
Step 6: Monitor Your Cannabis Seeds
Within a day or two, you should start seeing small white taproots emerging from your seeds. This indicates the seedling is ready to be planted into its final growing medium.
Signs of Successful Germination:
- Taproot Emergence: If you see a small white root emerging, your seed is ready to grow. This taproot will develop into the plant’s main root system.
- Seed Cracking Open: The outer shell splits open to let the taproot emerge. This is a crucial step in seed development, showing that germination is progressing as expected.
Tip: Avoid touching the taproot directly, as it’s extremely delicate. Handle the seeds carefully by the shell when planting to avoid damaging the taproot.

Troubleshooting Common Issues With Soaking Cannabis Seeds
- Seeds Not Cracking: If your seeds don’t come after 24 hours, they might be too old or improperly stored. You can still try to germinate them, but the results may vary. Sometimes, lightly scarring the seed shell with sandpaper can help improve water absorption for older or stubborn seeds.
- Excessive Floating: If your seeds float after several hours, gently tap them to encourage them to sink. Persistent floaters can still be viable but may need more time to absorb water. Patience is key.
- Mold or Rot: Soaking too long can lead to mold or rot. Always move your seeds to a germination method within 12 to 24 hours to avoid these issues. Mold and rot can quickly destroy your seeds, so following the timing guidelines is crucial.
FAQs About Soaking Cannabis Seeds
1. How long should I soak cannabis seeds?
- Soak for 12 to 24 hours. You are soaking for longer risks drowning your seeds or causing rot. Keep an eye on your seeds during this period to prevent over-soaking.
2. Should I adjust the pH of the water?
- Adjusting the water between 5.5 and 6.5 can improve germination, but it’s an option. If you have the tools, it’s mortising, especially if your water source is very acidic or alkaline.
3. What if my seeds don’t float
- After a few hours, give them a gentle tap. Floating doesn’t necessarily mean the seed is terrible.
4. Can I skip soaking?
- Soaking is optional but often speeds up germination and improves success rates. You can skip soaking and plant directly into your chosen medium, such as soil or rock wool.
5. Should I use warm or cold water?
- Use room-temperature water. Hot or cold water can shock the seeds and reduce their chances of germination. Room temperature is ideal for consistent moisture absorption.
6. Does light affect soaking seeds?
- Soak seeds in a dark or dim environment. Excessive light exposure can sometimes inhibit germination or promote algae growth in the water, so a shaded area works best.
Final Thoughts on Soaking Cannabis Seeds
Soaking your cannabis seeds is a simple yet effective way to kickstart germination. Following these steps gives your seeds the best chance to sprout quickly and grow strong. After soaking, transfer your seeds to a warm, dark, and moist environment, such as paper towels, soil, or rock wool. Each method has its benefits, and choosing the right one depends on your specific growing conditions and preferences.
Remember, germination is just the first step—but it’s instant. With quality seeds, the proper water, and a little patience, you’re on your way to successful growth. As you gain more experience, you’ll find ways to fine-tune your process and achieve even better results.
Thanks for reading! If you’re looking for high-quality cannabis clones, be sure to check out our sister site at IWantClones.com. For more information on this and related topics, read the Ultimate Guide to Cannabis Germination.
Happy growing!
James Bean
Suggested Articles
;)
;)
;)


 28 Nov 2025
  15 min read


 November 14, 2024


RESPONSES (0)
No responses yet. Be the first to respond!